








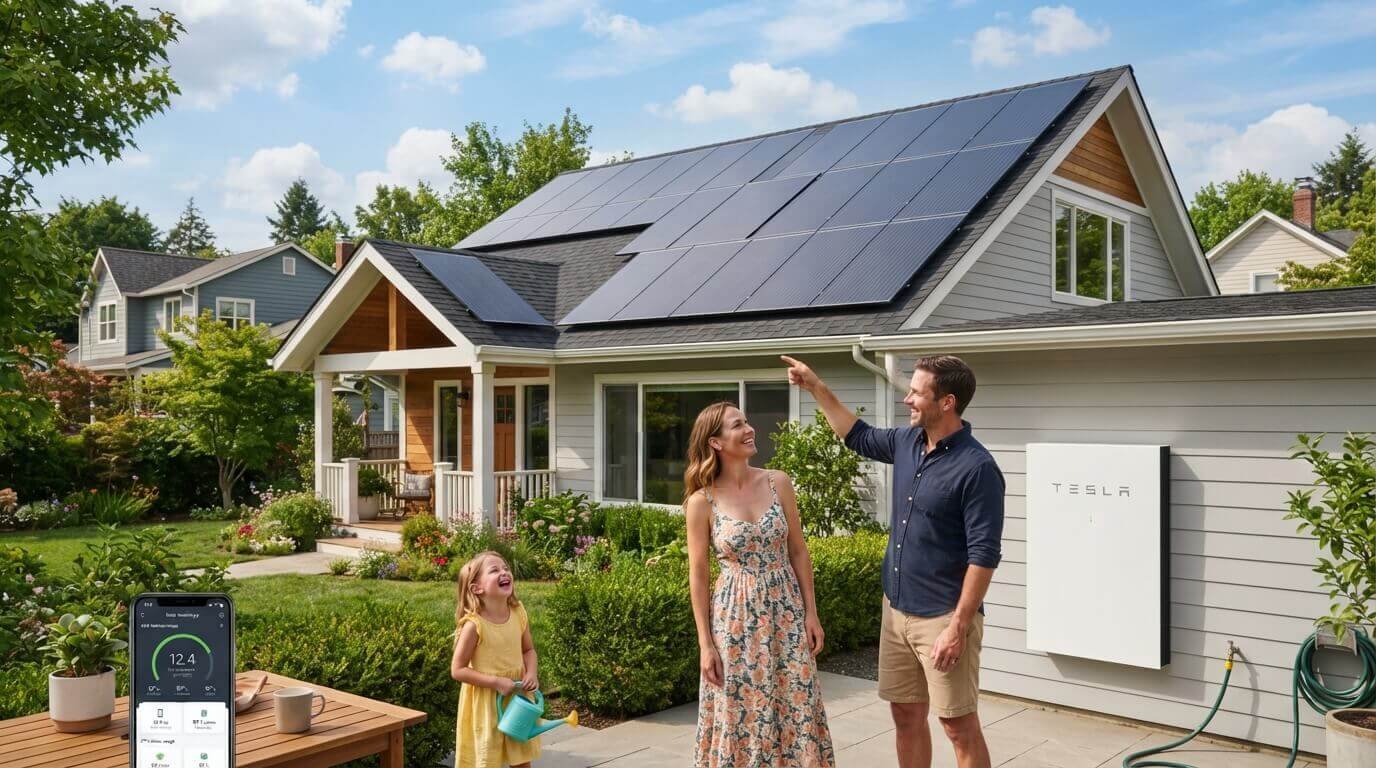
You know those months when the power bill is higher than you thought it would be and a storm knocks out power for hours? That’s why so many households are discreetly putting together their own reliable solar power system at home. It’s not just for tech lovers or cabins that aren’t connected to the grid anymore; it’s a good solution for regular homeowners who want reliable power, fewer bills, and real peace of mind. The best part is that you can make a system that feels like it was always meant to be there using today’s tools and a clear concept. Let’s go through the steps together so that you finish up with something strong, safe, and built to last.
Figuring out how much energy your home needs
To begin, be honest about how much energy your home really uses. Get out your last few electricity invoices and write down the total number of kilowatt-hours for each month. Most households use between 900 and 1,200 kWh, but if you run air conditioning a lot, work from home, or have a lot of people living with you, it can go up to 1,500 kWh.
Write down a short list of the most important appliances that are always on, like your refrigerator, lights, washing machine, water heater, TV, computers, fans, and anything else that stays on all the time. Write down the wattage (which is generally on a sticker or in the instructions) and guess how many hours each one runs. Add everything up after multiplying the figures. Then add 25% to 30% for overcast days, system losses, and instances when people forget to turn things off. This one phase is the most important part of the complete project. If you get the numbers correct, you’ll never feel like you don’t have enough power when you need it most.
Choosing the Right Solar Panels
Now that you know your daily goal, it’s time to measure the panels. Most people today select monocrystalline panels because they work well in tiny spaces and last a long time. A panel of 350 to 400 watts is a good choice for domestic use.
Find out how many hours of peak sun your area gets on average. Most places get four to six hours. Take your daily energy needs and divide them by those hours. Then, for safety, add two or three more panels. If your goal is 10 kWh per day and you get five good hours of sun, you’ll need about 2,000 watts of panels. That usually involves six or seven units that are well-placed. Put them up facing south with a clear sky above them, and you’ll see the system make clean power even when the weather isn’t perfect.
Choosing an Inverter That Delivers Clean Power
The inverter changes the direct power from your panels into the alternating current that your household appliances can use. You don’t want to give up on this part. A pure sine wave inverter makes sure everything runs smoothly, with no weird sounds from the fridge or lights that flicker.
Make it a little bigger than the biggest load you can handle at once. Think about the evening when the air conditioner, oven, lights, and maybe even the washer are all using power at the same time. Most homes will have enough headroom and room to grow with a 4 kW or 5 kW unit. Many new inverters come with simple monitoring apps that let you check how much solar energy you’re making and utilizing from anywhere in the house.
Battery Storage: The Key to True Dependability
Panels work well while the sun is shining, but in real life, things happen after sundown and when it’s bad weather. That’s when storage makes the difference between a system that works sometimes and one you can count on every day.
Most homeowners find that lithium-ion batteries stand out for a reason when they are looking for an off grid battery. They provide you more useful energy per cycle, charge quickly, and can last 5 to 10 years with thousands of charge cycles. Pay attention to the total capacity in kilowatt-hours, the safe depth of discharge (many good ones let you use 80–90% of the battery), and the built-in safety measures that keep the battery from overheating or overcharging. A modular design is quite useful since you may start with a smaller bank and add extra batteries later when you need them. Put them in a cold, dry, well-ventilated place like the garage, and they will silently do their job for years with very little care.
The Charge Controller and Wiring Basics
The charge controller is situated between the panels and batteries. It works like a clever traffic director to stop overcharging and keep everything safe. Most configurations utilize an MPPT controller because it gets the most power out of the panels, even when the sky is partly cloudy.
Make sure to utilize the right size wires, good fuses, and a reliable disconnect switch. To cut down on power loss along the way, make wiring runs as short as feasible. People might not pay much attention to these minor things when they’re excited about the project, but they make the whole system safer and more efficient in the long run.
How to Install It Step by Step
Start with the practical side: find out what permits you need in your area and arrange any inspections you need to do as soon as possible so you don’t have to wait later. Put the mounting racks on your roof or on the ground, depending on what works best for your property. Attach the panels, connect them in the right series or parallel way for your system voltage, and safely send the cables down to the charge controller.
Put the batteries in their permanent place, connect the charge controller, and then connect the inverter. As you continue, check each part to make sure that any tiny problems may be corrected before everything is totally wired. It’s a really exciting moment when you eventually turn on the system and see the numbers going up on the screen. Most homeowners who are well-organized do the major installation in one weekend.
Important Safety Things to Keep in Mind
Respect electricity. If you’re not confident about any of the wiring steps, get a certified electrician to make the final connection to your home’s breaker panel. You must have proper grounding, circuit breakers, and surge protection. When working near live parts, use insulated gloves and keep one hand in your pocket. Also, make sure every connection is secure. A few meticulous steps during installation can stop problems that could last a lifetime.
Easy Upkeep for Long-Term Performance
The best part is that once everything is up and running, it’s really easy to keep it that way. To get rid of dust, pollen, and bird droppings, rinse the panels with plain water a few times a year. Even a thin layer can cut production by up to 20%. Make sure the storage location stays clean and well-ventilated, and check the battery connections every few months. Lithium batteries don’t need to be watered or equalized like other batteries do, so your routine stays light.
At initially, use the monitoring app every day. You’ll rapidly see patterns and figure out when to operate big appliances so you can use free solar electricity instead of getting it from the grid. These modest choices you make every day add up to big savings over time.